Auctioneers are used to having a stage, jumping down into the audience, and feeding off their energy. In the current “Virtual Gala” climate, we need creative ways to do that.
Getting a stage might FEEL it’s important, but I’m a big believer in the 80/20 rule (“Pareto Principle”). You don’t need a studio setup at all, you can look and sound great at home.
One major point to note is you don’t need to have everything at once and some things won’t work for your setup. This is an iterative process. Do some research, buy some things and return what you don’t like. Like with most things in life, it’s rare you’ll get it right on the first try.
##Video
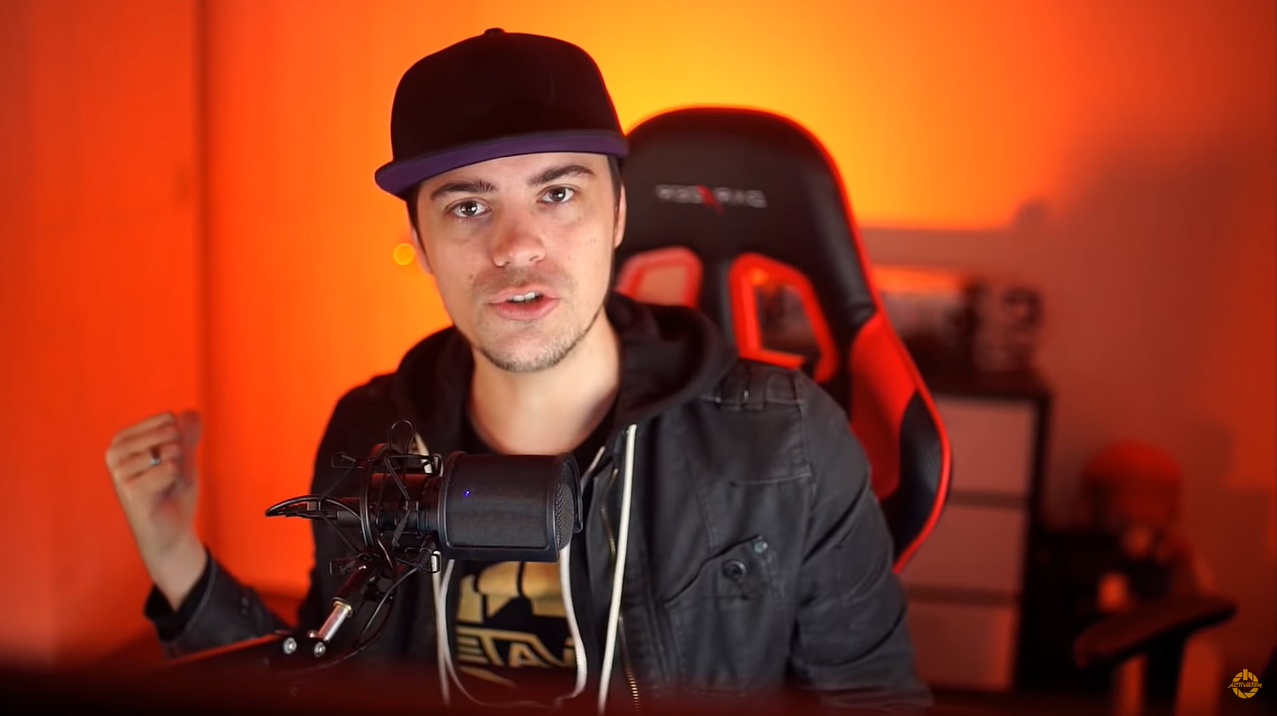
What you are going for here is a nice, high-resolution portrait picture of you talking. You don’t need something that shows your entire room as people only care about seeing you! Instead of having a really high-quality zoom, you can just bring the camera closer to you.
Logitech Brio 4k (Recommended)
$250 The Logitech Brio 4k has great resolution and sharpness for a webcam. If you can’t get that one (thanks COVID-19) you can get a less expensive version from Logitech. It’s easy to mount on top of your laptop or duct-taped to a box so you don’t need an extra stand if you don’t want to.
Here is a comparison who compares a bunch of them:
Real camera + Camlink 4k. (higher quality, more complex)
I use the (Approx $500 new) Sony A6000 that I bought used and a Camlink 4k ($180 new) to take the output from that camera to make my computer use it as a normal webcam. If you already have a camera around the house, you can look to see if it has an output you can send to a capture device like that Camlink 4k.
Here is a comparison between the Brio and the Sony A6000 + Camlink 4k. You can decide for yourself if the webcam is good enough or if you want an upgrade.
If you use a real camera, you will need to mount it somewhere, like a tripod or a number of creative options I saw on Amazon.
Blur That Background
If you do go with a webcam that doesn’t have a shallow depth of field, you can remove the background or blur your background to give that shallow depth of field look (blurred background) using Xsplit VCam. What’s REALLY cool about this is you don’t need a green screen and it works with whatever webcam you have.
Lighting
Generally speaking, this is an under-appreciated part of any studio setup. Thankfully, you can get started on a budget. First, take stock of how you look in your planned studio setup then see what you need to make it better. You might need a fill light, ring light and/or background lights.
There is lots of room for creativity here so have at it!
Fill Light
Fill lights a designed to put light in an area that might be too dark. For example, this could be the side of your face or a dark space in your room. Here is an example of someone adding fill lights using our recommended fill light, the Viltrox L116T.
You might need just one of these or maybe more!
Here’s a test for you:
Ring Light
If you put your camera/webcam inside a ring light, you get a very well balanced light across your face. You can move it off to the side if you’re looking to use it as a more of a fill light. Here’s a highly reviewed one: The Neweer Ring Light.
Look at the before and after here
Note: Different lighting requires different mounts, so take care when you order to see if you need anything else (like a tripod etc)
For Your Background
Maybe you’re looking for something a bit more interesting in the background. For Around $100 you can get these Wifi controlled LED strips that can charge any color. Just tape them to your wall, turn off your lights and get a really nice, interesting background
Audio
When calling out bids and trying to get your viewers engaged, they need to hear and FEEL your energy. Microphone manufacturers have made design decisions when making microphones for one of two use cases:
- Far from the Microphone - If the user is expected to not be close to the microphone, the microphone needs to pick up more sound from the room in the hopes of capturing your voice. Example: Laptop mics, Apple Airpods
- Close to the microphone - If the user is expected to be close to the microphone, it can focus all it’s attention on whatever is close to the microphone. Studio microphones, or handheld mics.
Since you can control everything in your studio, you’ll get way better sound quality by buying a microphone that is designed to go close to your mouth.
Audiotechnica AT2005USB ($100) - I personally use the AT2010 which is essentially the same as this mic. It connects via USB so it’s really easy to get started.
It has a stand that comes with it, but depending on how you are going to be in front of the camera, you might need a mount for it.
Questions?
Don’t hesitate to reach out. We’re focused on producing these Virtual Live Galas so we have an interested interest to make you look awesome.
If you want us to produce a virtual live gala, email me (hello@galasathome.com) or call 1-888-4MY-GALA